There are lots of blog posts explaining how to setup a Machine Learning system with GPU support, but what I ended up going through I could not find anywhere. Due to specific hardware and software combination I'm using, I had to figure out how to do thing and in what order for this to work. I may have gone through a dozen full reinstalls before I got a stable and working setup. That's why I'm writing it down here so it may save someone else a lot of time.
Hardware
I already had a desktop server from few years ago which I am reusing for this purpose. I decided to do bare metal instead of VM, as my benchmarks show VM is between 5%-10% slower due to overhead of hypervisor. Here is my hardware setup:
- Supermicro X10SLM+-f motherboard
- Onboard Aspeed AST2400 VGA (used by IPMI for remote management)
- Xeon E3 1220 CPU, 4 cores at 3.1 GHz
- 32 GB ECC RAM
- 500 GB Samsung SSD
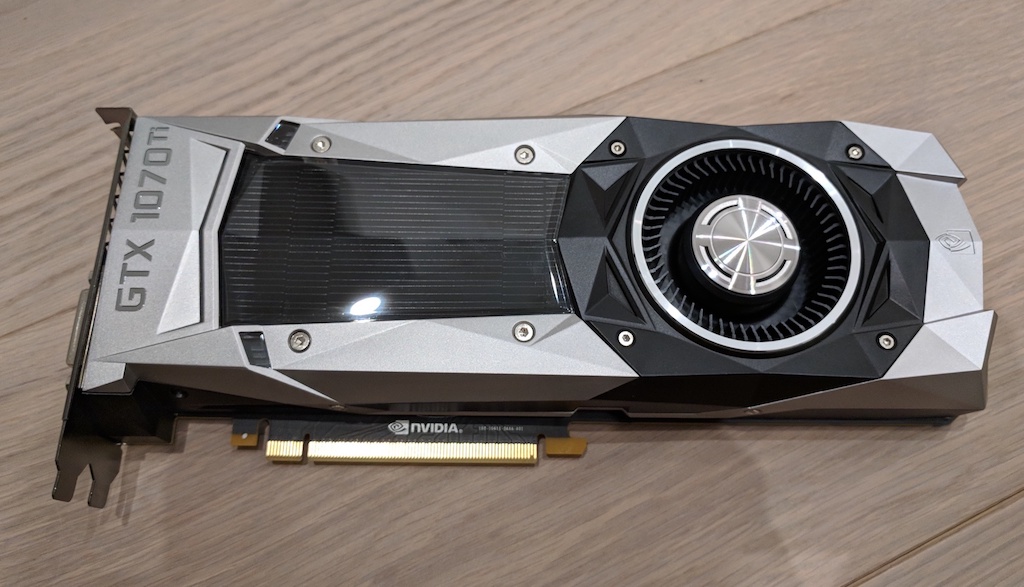
- Geforce GTX 1070 Ti to be used as GPU
Software
I ended up picking the following as target software combination:
- Ubuntu 18.04
- Nvidia CUDA
- Tensorflow
- Keras
Ubuntu Installation
I had a hard time getting Ubuntu to play nice with my combination of onboard AST2400 VGA and the Geforce GTC GPU card. There was a conflict between the onboard VGA and the GTX card. I could disable the onboard VGA, but then I would loose my remote management ability. So I decided to keep the onboard VGA as default for Ubuntu GUI, and use GTX only as ML GPU.
I ended up removing the GTX, do a minimum install of Ubuntu with option for installing external drivers turned off to make sure everything works. Next thing to do was to get SSH server setup as I would loose my GUI login during my experiments, but you do not have to do it:
sudo apt install openssh-server
service ssh status
Also, installed Vino to be able to enable remote connection using VNC. I had to disable encryption due to incompatibility of my VNC client (on Mac) and Vino server:
sudo apt install vino
gsettings set org.gnome.Vino require-encryption false
Next (and very important) step was to blacklist nouveau so it does not automatically detect and use its own driver for the Nvidia card, as it was causing the GUI to break:
sudo nano /etc/modprobe.d/blacklist-nouveau.conf
And in this file you add following lines:
blacklist nouveau
options nouveau modeset=0
Run the following to apply the changes:
sudo update-initramfs -u
Install the GPU card
Above steps are done without GTX card. Now you can shutdown the system and install the card.
Software Prerequisites
Let's get all required software in place before we install Nvidia packages:
sudo apt update
sudo apt install build-essential
sudo apt install linux-headers-$(uname -r)
gcc --version
In my case, I wanted to make sure Python and Jupyter notebooks are setup correctly:
python3 -V
sudo python3 -m pip uninstall pip
sudo apt install python3-pip --reinstall
pip3 install jupyter notebook
jupyter notebook
Last command above should open jupyter in a browser.
Download Nvidia Packages
In my case, I downloaded latest Nvidia Geforce GTX driver for Linux and kept it in "Downloads" folder. Also, needed to download CUDA Toolkit 9.0 (At the time of this writing, Tensorflow 1.9 was only compatible with CUDA 9.0). I Also had to download Nvidia cuDNN as it is needed for Deep Neural Network processing. Only download and keep them in Download folder. We will install them in next sections.
Install Nvidia Driver
For this to work, we need to first stop gdm:
sudo service gdm3 stop
And then in Downloads folder, run the driver installer with --no-opengl-files switch. The reason we do this is we want to use the onboard VGA for the GUI and GTX card will not act as the main video display card. During install, say "No" when it offers to update your X11 settings.
cd Downloads/
sudo bash NVIDIA-Linux-x86_64-390.77.run --no-opengl-files
Then Reboot and make sure you can log back into the system and everything still works.
Install CUDA
Just to be safe, I'm disabling gdm before installing CUDA. Switches used are needed to prevent conflict. When installer asks to install Nvidia driver, say No as we installed it directly in previous step.
sudo service gdm3 stop
cd Downloads/
sudo bash cuda_9.0.176_384.81_linux.run --no-opengl-libs --override
As the installer suggests at the end, we need to add CUDA to PATH and LD_LIBRARY_PATH, so let's put them in bashrc:
nano ~/.bashrc
add the following to the end of your bashrc:
export PATH=${PATH}:/usr/local/cuda-9.0/bin
export LD_LIBRARY_PATH=${LD_LIBRARY_PATH}:/usr/local/cuda-9.0/lib64
Then reboot and make sure everything still works.
Validate CUDA
Check to see if nvidia dev files are created:
ls /dev/nvidia*
If not, create a modprobe.sh file (e.g. in Downloads folder) with this content:
#!/bin/bash

/sbin/modprobe nvidia

if [ "$?" -eq 0 ]; then
  # Count the number of NVIDIA controllers found.
  NVDEVS=`lspci | grep -i NVIDIA`
  N3D=`echo "$NVDEVS" | grep "3D controller" | wc -l`
  NVGA=`echo "$NVDEVS" | grep "VGA compatible controller" | wc -l`

  N=`expr $N3D + $NVGA - 1`
  for i in `seq 0 $N`; do
    mknod -m 666 /dev/nvidia$i c 195 $i
  done

  mknod -m 666 /dev/nvidiactl c 195 255

else
  exit 1
fi

/sbin/modprobe nvidia-uvm

if [ "$?" -eq 0 ]; then
  # Find out the major device number used by the nvidia-uvm driver
  D=`grep nvidia-uvm /proc/devices | awk '{print $1}'`

  mknod -m 666 /dev/nvidia-uvm c $D 0
else
  exit 1
fi
And run it:
sudo bash ./modprobe.sh
Now, check the files again, and they should be there:
ls /dev/nvidia*
Check version of nvidia and CUDA software:
cat /proc/driver/nvidia/version
nvcc -V
Install CuDNN
CuDNN is needed for processing Deep Neural Networks using your Nvidia card. Just install the deb file we downloaded earlier:
cd ~/Downloads/
sudo dpkg -i ./libcudnn7_7.1.4.18-1+cuda9.0_amd64.deb
And reboot and make sure everything still works.
Tensorflow-GPU
Install and test TensorFlow:
pip3 install -U tensorflow-gpu
python3 -c "import tensorflow as tf; print(tf.__version__)"
Install and test Keras
pip3 install -U keras
python3 -c "from keras import backend as K; K.tensorflow_backend._get_available_gpus()"
Lastly, Jupyter
If you try this last Keras test in a Jupyter notebook, you should get no errors, though it will not give you all the details about your GPU.
What's Next
My plan is to do a benchmark to show how much faster the same learning job would run if it uses this GPU. I'm looking forward to next generation of GPUs to be available in a month or so, and will repeat this benchmark with new hardware.